As a supplier of American Type Flat Nose Pliers, I understand the importance of maintaining these essential hand tools. Regular cleaning and disassembly can significantly extend the lifespan of your pliers and ensure they perform at their best. In this blog post, I'll guide you through the process of disassembling American Type Flat Nose Pliers for cleaning, providing you with step-by-step instructions and useful tips.
Why Disassemble and Clean Your Pliers?
Before we dive into the disassembly process, let's discuss why it's necessary to clean your American Type Flat Nose Pliers regularly. Over time, pliers accumulate dirt, debris, and metal shavings from various tasks. This buildup can affect the pliers' functionality, making them less efficient and potentially causing damage to the tools. Cleaning your pliers not only restores their performance but also prevents corrosion and rust, which can lead to premature wear and tear.
Tools You'll Need
Before you start disassembling your pliers, gather the following tools:
- Screwdriver: Depending on the type of fasteners used in your pliers, you may need a Phillips or flathead screwdriver.
- Needle-nose pliers: These will come in handy for removing small components and handling delicate parts.
- Cleaning solvent: You can use a commercial degreaser or a mixture of warm water and mild dish soap.
- Soft brush: A toothbrush or a small paintbrush can be used to remove dirt and debris from hard-to-reach areas.
- Lubricant: Apply a small amount of lubricant to the moving parts of the pliers after cleaning to ensure smooth operation.
Step-by-Step Disassembly Process
Now that you have all the necessary tools, let's begin the disassembly process:
Step 1: Inspect the Pliers
Before you start disassembling your pliers, take a close look at them to identify any visible damage or wear. Check the handles, jaws, and pivot point for signs of cracks, chips, or excessive wear. If you notice any issues, it's best to address them before proceeding with the cleaning process.
Step 2: Remove the Fasteners
Most American Type Flat Nose Pliers are held together by screws or rivets. Use the appropriate screwdriver to remove the screws or use a drill to remove the rivets. Be careful not to damage the pliers or the fasteners during this process.
Step 3: Separate the Jaws
Once the fasteners are removed, gently separate the jaws of the pliers. You may need to use the needle-nose pliers to pry them apart if they are stuck together. Be careful not to bend or damage the jaws during this process.
Step 4: Remove the Pivot Pin
The pivot pin is the part that allows the jaws of the pliers to open and close. Use the needle-nose pliers to remove the pivot pin from the pliers. This may require some force, so be careful not to damage the pin or the pliers.
Step 5: Disassemble the Handles
Some American Type Flat Nose Pliers have handles that can be disassembled for easier cleaning. Check if your pliers have any additional fasteners or screws on the handles and remove them if necessary. Separate the handles from the jaws and set them aside.
Step 6: Clean the Components
Now that you have disassembled the pliers, it's time to clean the individual components. Dip the components in the cleaning solvent and use the soft brush to remove any dirt, debris, or metal shavings. Pay special attention to the jaws, pivot point, and any other areas that are prone to buildup. Rinse the components thoroughly with clean water and dry them with a clean cloth.
Step 7: Lubricate the Moving Parts
After cleaning the components, apply a small amount of lubricant to the moving parts of the pliers, such as the pivot point and the jaws. This will help to reduce friction and ensure smooth operation.
Step 8: Reassemble the Pliers
Once the components are clean and dry, it's time to reassemble the pliers. Start by inserting the pivot pin back into the pliers and aligning the jaws. Use the needle-nose pliers to hold the components in place while you insert the fasteners. Tighten the screws or rivets securely, but be careful not to overtighten them.
Step 9: Test the Pliers
After reassembling the pliers, test them to make sure they are working properly. Open and close the jaws several times to ensure smooth operation. If you notice any issues, such as stiffness or misalignment, disassemble the pliers again and check for any loose or damaged components.

Tips for Maintaining Your Pliers
In addition to regular cleaning and disassembly, here are some tips for maintaining your American Type Flat Nose Pliers:
- Store your pliers properly: Keep your pliers in a dry, clean place to prevent corrosion and rust. You can use a toolbox or a tool rack to organize your pliers and protect them from damage.
- Use the right pliers for the job: Different types of pliers are designed for specific tasks. Make sure you use the right pliers for the job to avoid damaging the tools or the materials you are working with.
- Avoid overloading the pliers: Do not use your pliers to cut or bend materials that are too hard or thick for the tool. Overloading the pliers can cause damage to the jaws and the pivot point.
- Inspect your pliers regularly: Check your pliers for signs of wear and tear on a regular basis. If you notice any issues, such as cracks, chips, or excessive wear, replace the pliers or have them repaired.
Other Types of Pliers
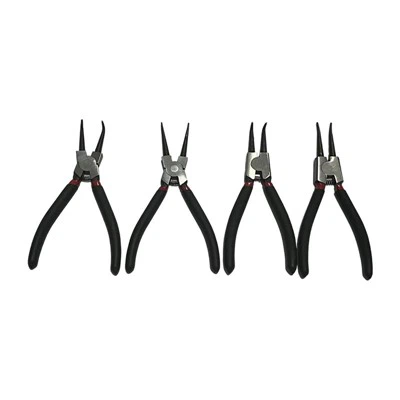
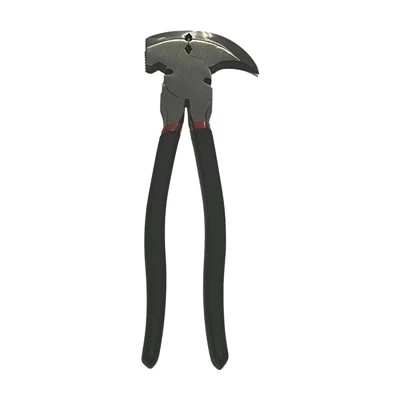
As a supplier of hand tools, we offer a wide range of pliers to meet your needs. In addition to American Type Flat Nose Pliers, we also offer Circlip Pliers, Fence Pliers, and Germany Type Bent Nose Pliers. These pliers are designed for specific tasks and offer superior performance and durability.

Contact Us for Purchasing
If you're interested in purchasing American Type Flat Nose Pliers or any other hand tools, please contact us for more information. We offer competitive prices, high-quality products, and excellent customer service. Our team of experts is available to answer your questions and help you find the right tools for your needs.
References
- "Hand Tools: Maintenance and Safety." Occupational Safety and Health Administration (OSHA).
- "How to Clean and Maintain Pliers." DIY Network.
- "Pliers: Types, Uses, and Maintenance." The Spruce Crafts.