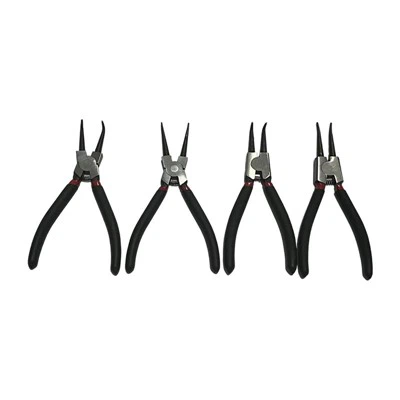
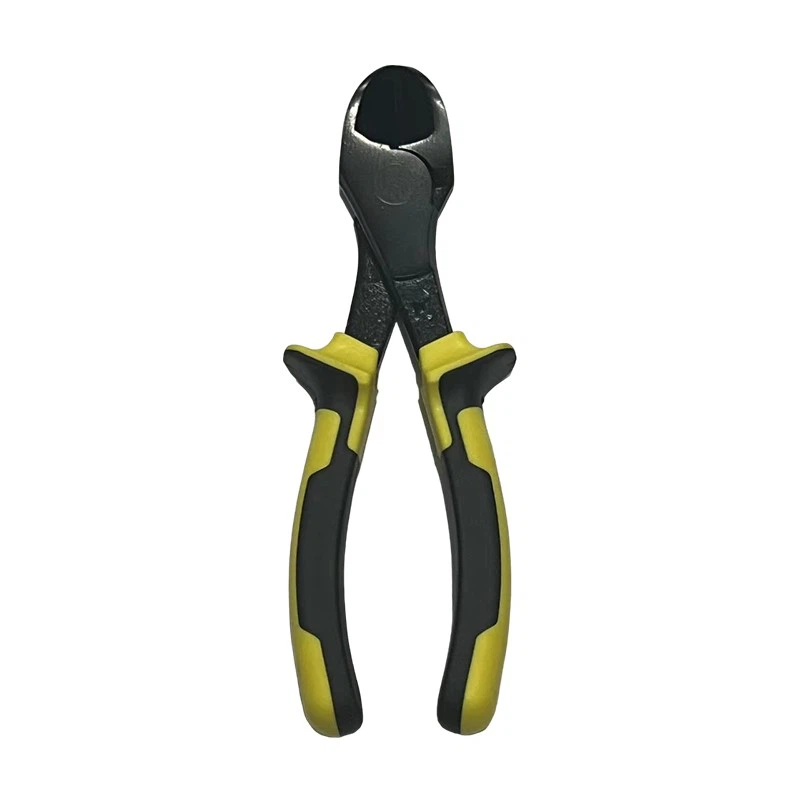
Hey there! I'm a supplier of Slip Joint Pliers, and today I'm gonna share with you how to use these handy tools to remove nails. Slip joint pliers are versatile and can be a real lifesaver when it comes to nail removal. Let's dive right in!
Why Slip Joint Pliers for Nail Removal?
First off, you might be wondering why choose slip joint pliers for this job. Well, these pliers have an adjustable jaw, which means you can open them wide enough to grip the nail firmly. They're also strong and durable, able to withstand the force needed to pull out nails. Whether you're working on a small DIY project or a big construction job, slip joint pliers can get the job done.
Getting Ready
Before you start removing nails, you need to make sure you have the right tools and take some safety precautions. Grab your slip joint pliers, of course. You might also want to have a hammer handy in case you need to loosen the nail a bit before pulling it out. And don't forget to wear safety glasses to protect your eyes from any flying debris.
Step-by-Step Guide to Removing Nails with Slip Joint Pliers
- Inspect the Nail: Take a good look at the nail you want to remove. See how deep it is and if there are any obstacles around it. This will help you figure out the best way to grip the nail with your pliers.
- Grip the Nail: Open the jaws of your slip joint pliers wide enough to fit around the nail. Make sure you have a firm grip on the nail, as close to the surface as possible. If the nail is sticking out too far, you might need to use a hammer to tap it down a bit first.
- Apply Pressure: Once you have a good grip on the nail, start applying pressure to the handles of the pliers. Slowly and steadily pull the nail out. If the nail is stubborn, you can try wiggling the pliers back and forth a bit to loosen it up.
- Remove the Nail: Keep pulling until the nail is completely out. Be careful not to damage the surface you're working on. If the nail is still a bit stuck, you can use the hammer to give it a little extra tap to loosen it further.
Tips and Tricks
- Use the Right Size Pliers: Make sure you choose the right size of slip joint pliers for the job. If the pliers are too small, you won't be able to get a good grip on the nail. If they're too big, they might be difficult to control.
- Protect the Surface: If you're working on a delicate surface, you can place a piece of scrap wood or a cloth between the pliers and the surface to prevent any damage.
- Be Patient: Removing nails can be a slow and tedious process, especially if they're deeply embedded. Take your time and don't rush it. If you try to pull the nail out too quickly, you might break it or damage the surface.
Other Types of Pliers for Nail Removal
While slip joint pliers are great for general nail removal, there are other types of pliers that can be even more effective in certain situations. For example, Carpenters End Cutting Pliers are designed specifically for cutting nails and wires. They have a sharp cutting edge that can easily slice through nails, making them a great choice for removing nails that are flush with the surface.
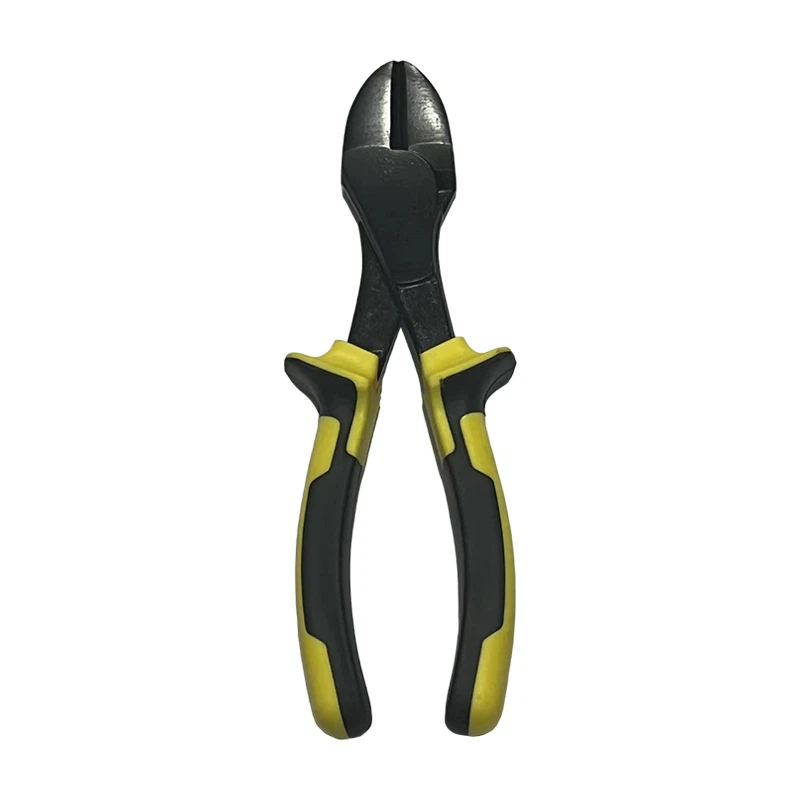
Another option is Germany Type Heavy Duty Diagonal Cutting Pliers. These pliers are strong and durable, with a diagonal cutting edge that can handle thick nails and wires. They're perfect for heavy-duty nail removal jobs.
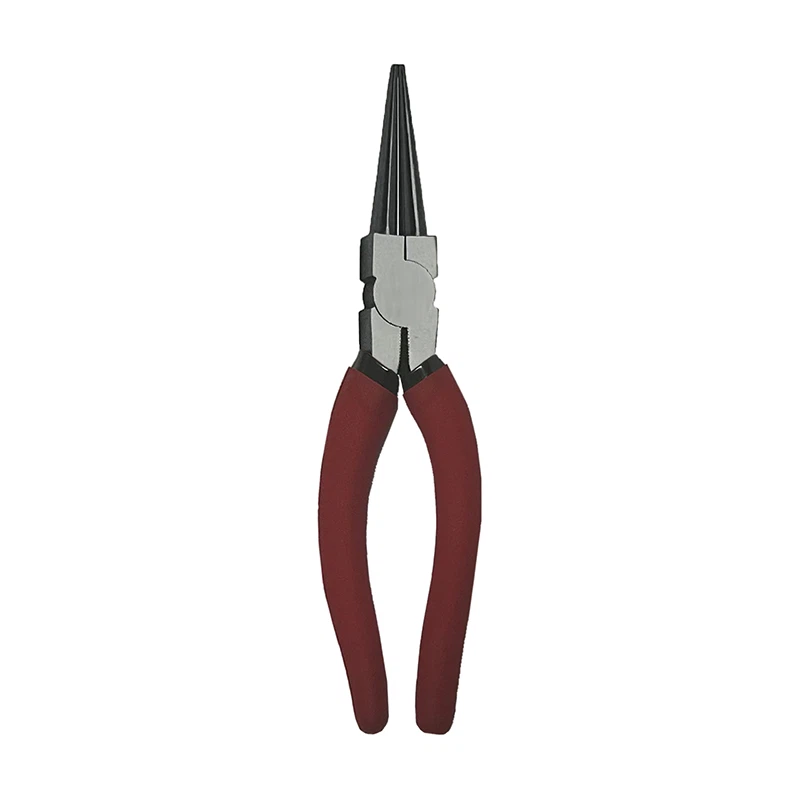
If you need to bend or shape nails, American Type Round Nose Plier are a great choice. They have a rounded tip that allows you to easily bend and shape nails without damaging them.

Conclusion
So there you have it! That's how you use slip joint pliers to remove nails. Remember, these pliers are a versatile tool that can be used for a variety of tasks, not just nail removal. With a little practice and the right techniques, you'll be able to remove nails like a pro in no time.
If you're in the market for high-quality slip joint pliers or any other type of hand tools, I'd love to hear from you. Whether you're a DIY enthusiast or a professional contractor, we have the tools you need to get the job done right. Just reach out to us to start a conversation about your procurement needs.
References
- "Hand Tools: A Practical Guide" by John Doe
- "The Complete Book of DIY" by Jane Smith