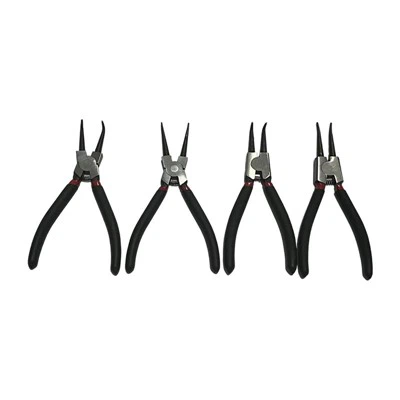
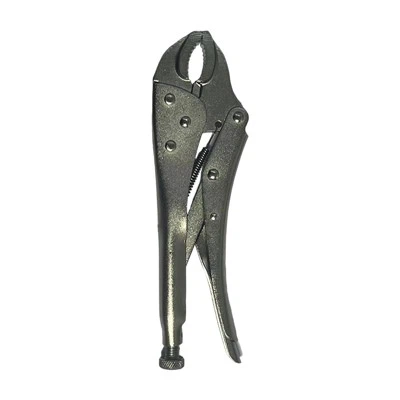
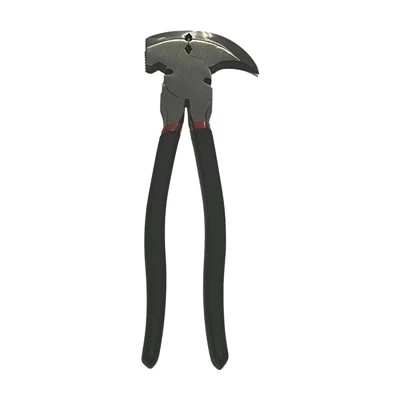
Wire triangles are a fundamental component in various jewelry - making, wire - art, and DIY projects. German Type Round Nose Pliers are an excellent tool for creating these wire triangles with precision and ease. As a supplier of German Type Round Nose Pliers, I'm here to share a comprehensive guide on how to use these pliers effectively for making wire triangles.
Understanding German Type Round Nose Pliers
German Type Round Nose Pliers are known for their high - quality construction and precision tips. The rounded tips allow for smooth bending of wire, creating consistent loops and curves. These pliers typically have a long, tapered shape, which provides better access to tight spaces and enables more accurate manipulation of the wire.
Selecting the Right Wire
Before you start making wire triangles, it's crucial to choose the appropriate wire. The thickness and material of the wire will affect the final look and durability of your triangle. For most jewelry - making projects, 18 - 22 gauge wire is a popular choice. Thinner wires (24 - 26 gauge) are more flexible and suitable for delicate designs, while thicker wires (16 - 18 gauge) provide more structure and are ideal for larger, more robust triangles.
Common wire materials include copper, silver, and gold - filled wire. Copper is an affordable option and easy to work with, making it great for beginners. Silver and gold - filled wires offer a more luxurious look and are commonly used in high - end jewelry.
Preparing Your Workspace
A well - organized workspace is essential for a successful wire - working project. Gather all the necessary tools, including your German Type Round Nose Pliers, German Type Flat Nose Pliers, Adjustable Water Pump Pliers, wire cutters, and a work surface. A padded workbench or a piece of cork can prevent the wire from scratching and provide a stable surface for bending.

Step - by - Step Guide to Making Wire Triangles
Step 1: Measure and Cut the Wire
Use a ruler or a measuring tape to determine the length of wire you need for your triangle. For an equilateral triangle, divide the desired perimeter by 3 to get the length of each side. For example, if you want a triangle with a perimeter of 15 cm, each side should be 5 cm long.
Once you've measured the wire, use wire cutters to cut it to the appropriate length. Make sure the cut is clean and straight.
Step 2: Create the First Loop
Hold the end of the wire with your German Type Round Nose Pliers about 5 - 10 mm from the tip. Gently bend the wire around the tip of the pliers to form a small loop. The size of the loop will depend on your design preferences and the purpose of the triangle. For a more delicate look, create a smaller loop; for a bolder look, make a larger loop.
Step 3: Bend the First Side
After creating the loop, use your German Type Flat Nose Pliers to hold the wire at the base of the loop. Then, use your German Type Round Nose Pliers to bend the wire at a 60 - degree angle to start forming the first side of the triangle. Make sure the bend is smooth and the angle is accurate.
Step 4: Bend the Second Side
Measure the length of the first side and mark it on the wire if necessary. Once you've reached the appropriate length, use the German Type Round Nose Pliers to bend the wire at another 60 - degree angle to form the second side of the triangle. This step requires a bit of precision to ensure that the sides are of equal length and the angles are consistent.
Step 5: Complete the Triangle
Continue bending the wire until you reach the end of the second side. Then, use the German Type Round Nose Pliers to bend the wire at the final 60 - degree angle to complete the triangle. Make sure the ends of the wire meet neatly at the starting point.
Step 6: Secure the Ends
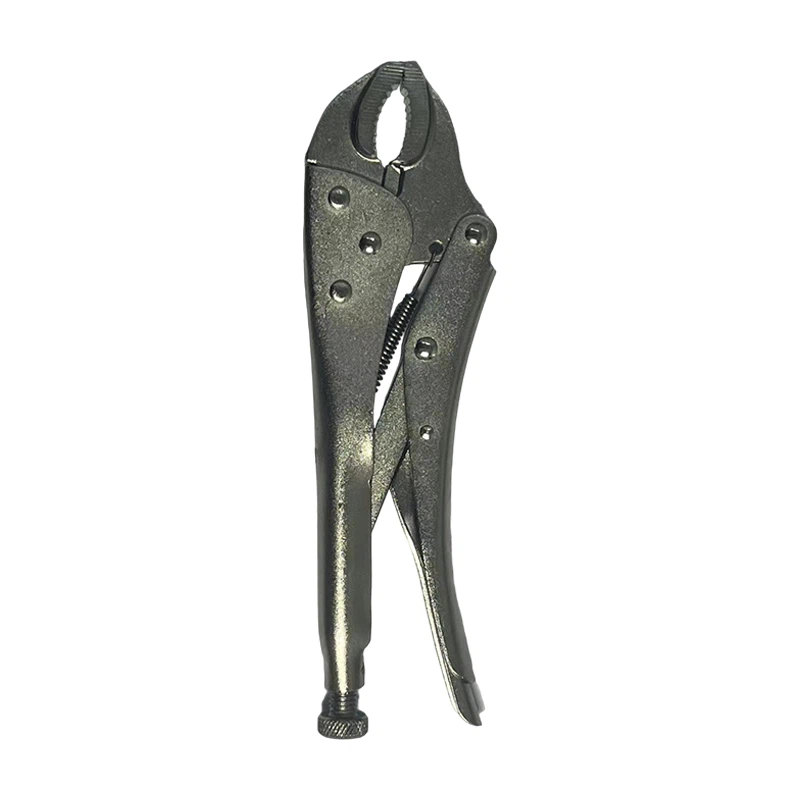
If you want to secure the ends of the wire, you can use your Locking Grip Plier to hold the ends together while you use a small amount of solder or a wire - wrapping technique to join them. This step is optional, depending on your design and the intended use of the triangle.
Tips and Tricks
- Practice Makes Perfect: Making wire triangles takes practice. Start with simple designs and gradually increase the complexity as you gain more experience.
- Use Templates: If you're having trouble getting the angles and lengths right, you can create a paper template of the triangle and use it as a guide while bending the wire.
- Keep Your Pliers Clean: Regularly clean your German Type Round Nose Pliers to prevent dirt and debris from affecting the quality of your bends. You can use a soft cloth and a bit of mild detergent to clean the pliers.
- Experiment with Different Wires and Designs: Don't be afraid to try different wire thicknesses, materials, and designs. You can create unique triangles by combining different types of wire or adding decorative elements.
Applications of Wire Triangles
Wire triangles have a wide range of applications in various fields. In jewelry - making, they can be used as pendants, earrings, or components in more complex designs. In wire - art, wire triangles can be used to create sculptures, mobiles, or wall art. They can also be used in DIY projects such as home decor, keychains, and hair accessories.
Conclusion
German Type Round Nose Pliers are an indispensable tool for making wire triangles. By following the steps outlined in this guide and practicing your skills, you can create beautiful and precise wire triangles for a variety of projects. Whether you're a beginner or an experienced wire - worker, these pliers will help you achieve professional - looking results.
If you're interested in purchasing high - quality German Type Round Nose Pliers or other hand tools for your wire - working projects, please feel free to contact us for more information and to discuss your specific needs. We're here to assist you in finding the right tools for your creative endeavors.
References
- "Wire Jewelry - Making Basics" by Kirsten Kapur
- "The Complete Guide to Jewelry - Making Techniques" by Tim McCreight