Hey there! If you're new to the world of locking grip pliers, you've come to the right place. I'm a supplier of these handy tools, and I'm here to walk you through how to operate a locking grip plier for the first time.
Getting to Know Your Locking Grip Pliers
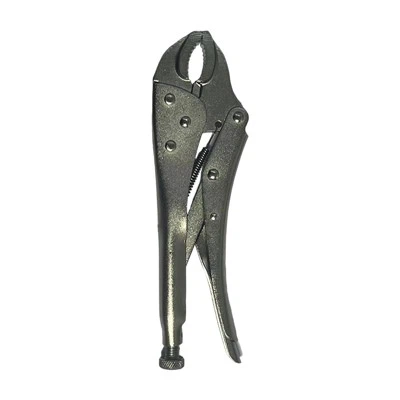
First things first, let's take a quick look at what locking grip pliers are. These are adjustable pliers that can lock in place, allowing you to hold onto objects firmly without having to apply continuous pressure. They're super useful for a variety of tasks, from gripping and holding to bending and cutting.
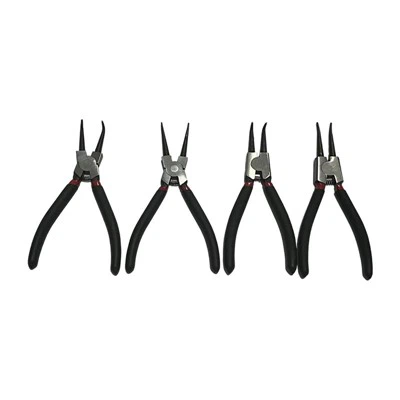
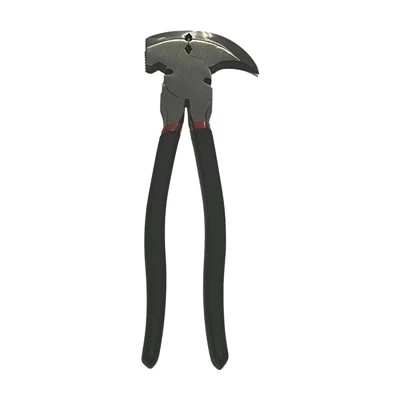
There are different types of locking grip pliers available in the market. For example, you might come across German Type Round Nose Pliers, which are great for tasks that require a more rounded grip. Then there are American Type Flat Nose Pliers, perfect for flat surfaces and precision work. And if you need to cut through tough materials, American Type Heavy Duty Diagonal Cutting Pliers are your go-to.
Safety First
Before you start using your locking grip pliers, it's important to prioritize safety. Make sure you're wearing appropriate safety gear, like safety glasses to protect your eyes from any flying debris. Also, check the pliers for any signs of damage or wear before use. If the pliers are damaged, don't use them – it's better to get a new pair to avoid any accidents.
Step-by-Step Guide to Operating Locking Grip Pliers
Step 1: Adjust the Jaw Opening
The first thing you'll need to do is adjust the jaw opening of the locking grip pliers to fit the object you're working with. Most locking grip pliers have an adjustable screw or a sliding mechanism for this purpose. Loosen the adjustment screw or slide the mechanism to increase or decrease the jaw opening. You want the jaws to be just wide enough to fit around the object without being too loose or too tight.


Step 2: Position the Pliers
Once you've adjusted the jaw opening, position the pliers around the object. Make sure the jaws are centered and evenly gripping the object. If the object is irregularly shaped, you might need to adjust the position of the pliers a few times to get a good grip.
Step 3: Lock the Pliers
After positioning the pliers, it's time to lock them in place. Most locking grip pliers have a locking lever or a trigger mechanism. Squeeze the handles of the pliers together and then engage the locking lever or pull the trigger to lock the jaws in position. You should feel a click or a firm resistance when the pliers are locked.
Step 4: Use the Pliers
With the pliers locked, you can now use them for your intended task. Whether you're gripping, holding, bending, or cutting, the locked jaws will provide a secure and stable grip on the object. Just be careful not to apply too much force, as this could damage the pliers or the object you're working with.
Step 5: Release the Pliers
When you're done using the pliers, you'll need to release them. To do this, disengage the locking lever or pull the trigger in the opposite direction. The jaws should then open up, allowing you to remove the pliers from the object.
Tips and Tricks
- Keep the Pliers Clean: Regularly clean your locking grip pliers to remove any dirt, debris, or rust. You can use a clean cloth and some lubricant to keep the moving parts in good condition.
- Store the Pliers Properly: When not in use, store your pliers in a dry and safe place. You can use a toolbox or a hanging rack to keep them organized and protected.
- Practice Makes Perfect: Don't be afraid to practice using the pliers on some scrap materials before working on your actual project. This will help you get a feel for how the pliers work and improve your technique.
Why Choose Our Locking Grip Pliers
As a supplier of locking grip pliers, we take pride in offering high-quality tools that are built to last. Our pliers are made from durable materials and are designed to provide a strong and reliable grip. We also offer a wide range of styles and sizes to meet your specific needs.
Whether you're a professional tradesperson or a DIY enthusiast, our locking grip pliers are a great addition to your tool collection. They're easy to use, versatile, and will help you get the job done quickly and efficiently.
Contact Us for Procurement
If you're interested in purchasing our locking grip pliers or have any questions about our products, we'd love to hear from you. We offer competitive prices, fast shipping, and excellent customer service. Just reach out to us, and our team will be happy to assist you with your procurement needs.
References
- "Hand Tools: A Practical Guide" by John Doe
- "The Complete Book of DIY Tools" by Jane Smith
So there you have it – a comprehensive guide on how to operate a locking grip plier for the first time. I hope this blog post has been helpful to you. If you have any more questions or need further advice, feel free to leave a comment below. Happy tooling!